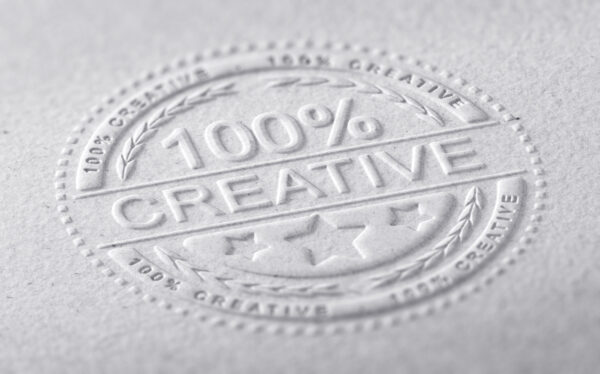
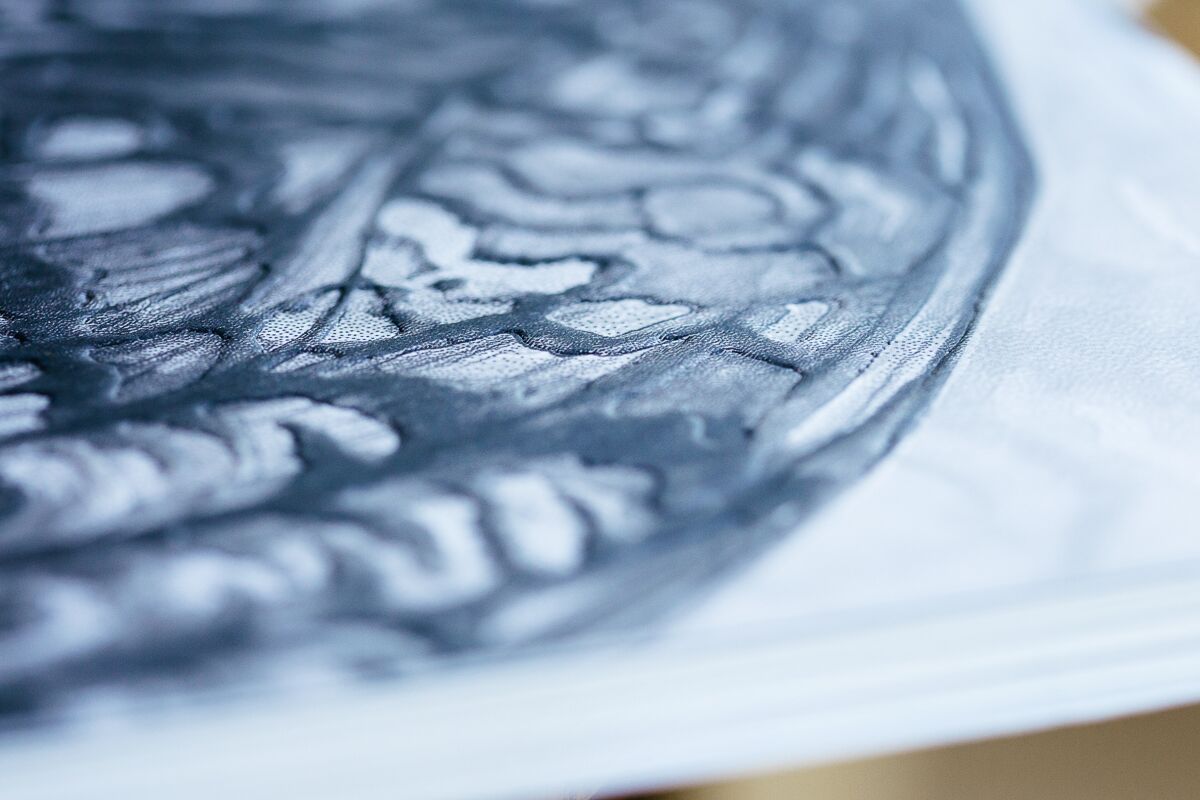
Embossing and debossing are classic techniques used in print design since the 15th century. Both techniques add an extra dimension and tactile quality to printed materials and can be combined with other embellishments to create stunning, stand-out print pieces.
Embossing creates a raised impression, and debossing does the opposite- lowering the design below the page surface. With the use of custom or standard metal dies, both result in a smooth, stamped effect.

These techniques add texture, distinction, and elegance to business cards, invitations, branding, and high-end print projects, elevating them to a sensory experience. Like other specialty print techniques, marketing materials that employ embossing and embossing enhance the perceived value of a company’s products and services. Here’s how:
Create Dimension and Texture
Embossing raises the surface, while debossing creates an indentation. The added texture and dimension allows your print projects to stand out from flat, one-dimensional designs, eliciting delighted double-takes.
Add Artistry
The raised or recessed shapes from embossing and debossing add artistic elements to your print designs, opening up creative options beyond color and imagery alone. You can emboss custom shapes and patterns to complement the visuals on business cards, event invitations, packaging, and more.
Draw Attention
Embossing and debossing are tactile techniques that entice readers to pick up and interact with your printed pieces. They help cut through visual clutter to get your brand noticed.
Convey Prestige and Quality
For centuries, embossing and debossing have been used as symbols of luxury and prestige. Craftsmanship and added labor required to accomplish these techniques reflect well on a brand, making it appear refined and elevated.
Embossing and debossing add both pop and luxury to printed materials. Business cards, invitations, packaging, stationary, and all branded collateral can be enhanced with these techniques. Integration with other printing techniques, such as foil stamping, spot UV, and die-cutting, can produce truly stunning effects. A knowledgeable print provider can advise on the best combinations to achieve your desired look and feel.
Design Tips and Best Practices for Embossing and Debossing
Embossed and debossed elements have the most impact when thoughtfully incorporated into the overall design. Follow these tips to maximize the visual appeal of dimensional techniques:
Contrast embossed elements with flat backgrounds
Embossed and debossed shapes stand out best against flat, non-textured backgrounds. Avoid placing dimensional elements side-by-side or on top of textured backgrounds as this reduces the dramatic contrast.
Use color intentionally
Color can accentuate or mute the embossed artwork. Dark colors like black, navy, and burgundy help embossed elements pop, making the shadows more visible. Lighter colors tend to minimize the depth and dimension. Metallic and pearlescent inks also nicely highlight embossed shapes.
Balance alignment and placement
Carefully align and space embossed and debossed artwork to create visual balance and draw the eye where desired. Avoid randomly scattering dimensional elements without purposeful alignment.
Mix embossed and debossed together
Combining both techniques creates added interest and depth. Debossing provides a beautiful backdrop for embossed artwork layered on top. Adjust sizing as needed so debossed shapes don’t overpower embossed ones.
Consider unique materials. Of course, most companies use these print techniques on paper and cardstock. However, embossing and debossing effects can also be achieved on materials like leather, synthetics, and textiles. We can help you decide when an extraordinary substrate might fit your project goals!
Embossing and debossing are two trusted–and relatively inexpensive–ways to create high-impact branded materials. Let us help you design your next stand-out project!
Glossary of Embossing and Debossing Terms
Embossing
A process that raises the surface of paper stock to physically create a three-dimensional or raised effect on paper products made through the printing process.
Blind Embossing
Pressure is applied to the backside of the paper to create a raised impression on the front. The image is not inked or foiled, creating a subtle 3D effect.
Relief Embossing
A raised area is inked to highlight the embossed artwork. The result is more of an accentuated 3D effect with the combination of the raised texture and colored ink.
Registered Embossing
The embossed artwork is aligned with other printed elements on the page. This requires precise registration to match up with the other printing.
Non-registered Embossing
It does not have to line up with other page elements. This allows more freedom in placement.
Debossing
The opposite of embossing, where pressure is applied to create a depressed impression on the stock. The image appears as an indentation on the paper surface.
Die
The metal template used to create the embossed or debossed effect. Dies come in various shapes and sizes.
Matrix
The female counterpart to the male die helps provide pressure to create the embossed or debossed impression.
Crash Number
The measurement of the force required to emboss a particular stock. Higher crash numbers are needed for thicker stocks.
Embossing Powder
A powder applied to ink to create a raised texture or design. The powder is bonded to the ink by heat application.
Register
Proper alignment and positioning of embossed or debossed elements relative to the other print elements on a page. Maintaining an accurate register is key.
Proof
A sample of the embossed or debossed product, used to check the quality and accuracy of the effect before a full production run.
Plate
A flat metal sheet with the image or design etched into it, which gets mounted onto the embossing or debossing die.
Release Paper
A disposable paper sheet placed between the stock and die during embossing or debossing to prevent them from bonding.

